How to Edit Landscape Photos for Vibrant and Realistic Colors
Capturing stunning landscape photos is just the first step in creating a memorable image. To truly make your photos stand out, editing is key. By adjusting colors, contrast, and saturation, you can enhance the beauty of your landscapes and create vibrant and realistic images. Here are some tips on how to edit landscape photos for vibrant and realistic colors:
Start with the Right Tools Before diving into editing, make sure you have the right tools at your disposal. Adobe Lightroom and Photoshop are popular choices for editing landscape photos due to their wide range of features and customization options.
Adjust White Balance White balance plays a crucial role in determining the overall tone and colors of your image. Make sure to adjust the white balance to accurately represent the colors in your landscape.
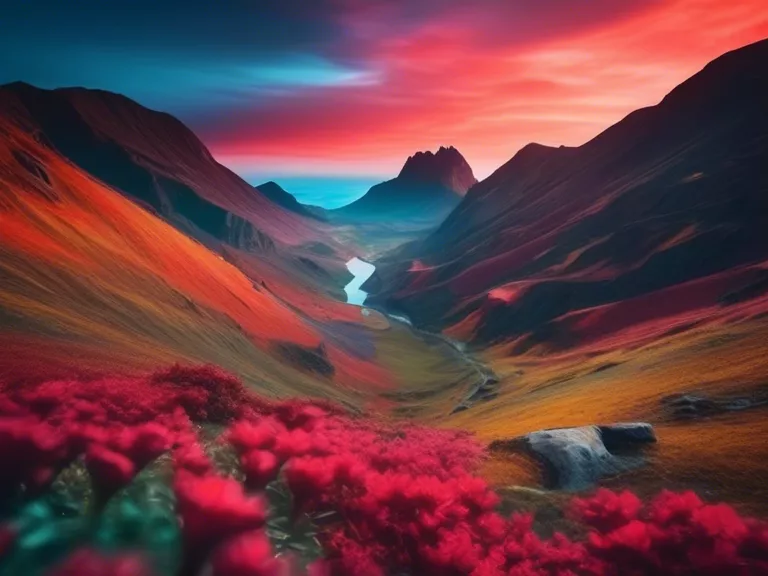
Enhance Contrast and Saturation Increasing contrast and saturation can make your colors pop and add depth to your landscape photos. Be careful not to overdo it, as too much contrast or saturation can lead to an unrealistic or unnatural look.
Use Graduated Filters Graduated filters are a great tool for balancing exposure in landscape photos. By using graduated filters, you can adjust the exposure and colors in specific areas of your image to create a more balanced and realistic look.
Fine-Tune Colors Pay attention to individual colors in your landscape photos and make adjustments as needed. You can use tools like the HSL panel in Lightroom to fine-tune specific colors and make them more vibrant and true to life.
By following these tips and experimenting with different editing techniques, you can enhance the colors in your landscape photos and create stunning and realistic images that truly capture the beauty of the natural world.


